Make a Montessori Object Permanence Box from Cardboard
As Indian parents, we often look for ways to nurture our children's development using resources readily available in our homes. The Montessori philosophy, with its emphasis on hands-on learning, fits beautifully into this approach. Today, we're going to explore how to create a classic Montessori material – a DIY Montessori object permanence box – right from a simple cardboard box!
Many of us grew up playing with handmade toys, perhaps crafted by grandparents or elders, instilling a sense of creativity and resourcefulness. This project echoes that spirit, bringing effective Montessori learning activities into your living room, even if space is a constraint in a bustling apartment in Bengaluru or Delhi.
Understanding Object Permanence: A Key Milestone
So, what exactly is object permanence? This crucial concept is the understanding that objects continue to exist even when they cannot be seen, heard, or touched. It's a foundational step in a child's cognitive development, typically emerging around 8 to 12 months of age, as first observed by Swiss psychologist Jean Piaget. Maria Montessori's materials are expertly designed to support children in grasping such developmental milestones.
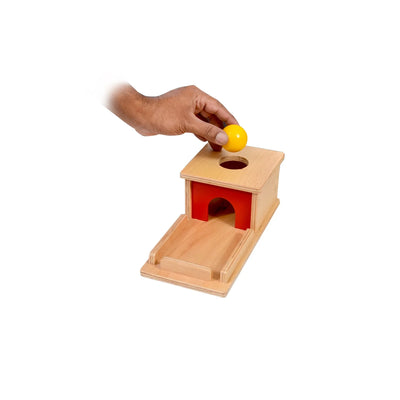
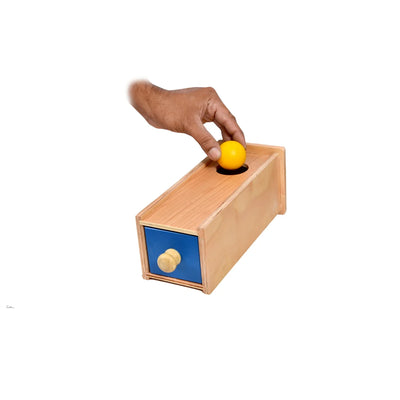
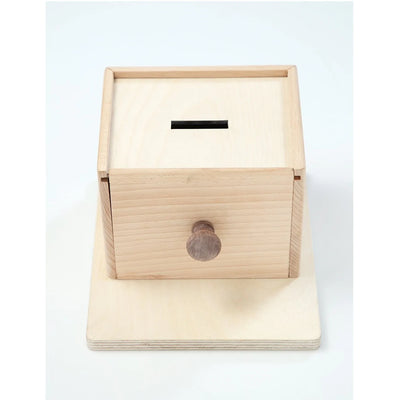
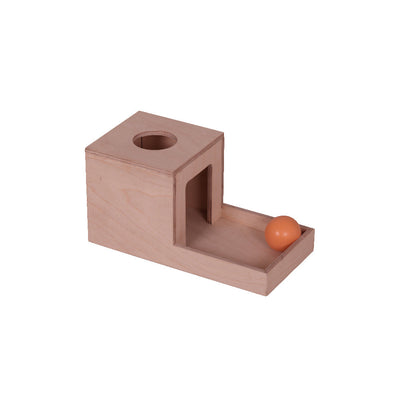
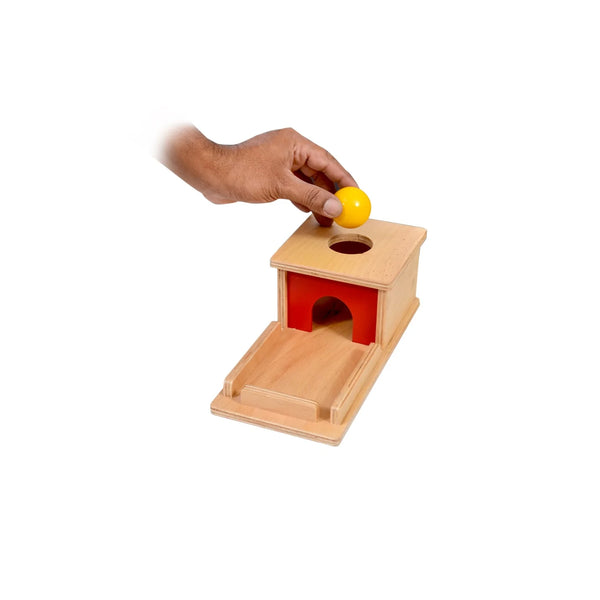
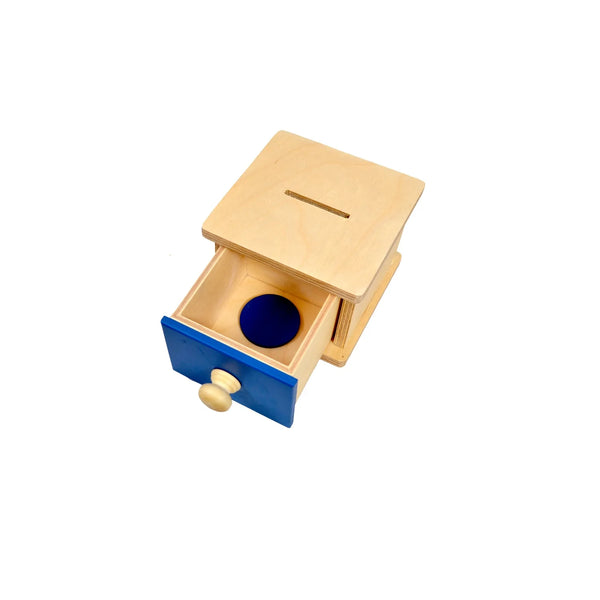
The object permanence box is a wonderful tool to aid this learning. It allows an infant to place a ball into a hole, watch it disappear, and then retrieve it from an open tray, reinforcing that the ball still exists. This works because it provides a tangible, repeatable experience of 'out of sight, not out of existence'. Parents can introduce this activity to help their child build concentration, fine motor skills, and an early understanding of cause and effect.
Why DIY Your Object Permanence Box?
Making your own version of this essential educational toy for toddlers offers several advantages. Firstly, it's cost-effective, allowing you to utilise materials you likely already have at home – perfect for mindful consumption in Indian households. Secondly, it provides a wonderful opportunity for parental involvement in the child's learning journey, a concept deeply cherished in our joint family structures.
For parents exploring Montessori at home India, a DIY approach means you can customise and create materials that resonate with your child and your home environment. Plus, the satisfaction of creating something meaningful for your little one is truly unparalleled.
Gather Your Materials: Simple & Accessible
Before we begin, collect these easily found items:
- A sturdy cardboard box: A shoebox, a small Amazon delivery box, or any compact, strong box will do.
- A small ball: Choose a wooden ball, a solid rubber ball, or a marble that is too large to be a choking hazard. Ensure it fits comfortably through the hole you'll make.
- Craft knife or sturdy scissors: For precise cutting.
- Ruler and pencil: For measuring and marking.
- Strong adhesive: Hot glue gun, Fevicol, or strong tape.
- Optional: Non-toxic paint or decorative paper to make it visually appealing.
Step-by-Step Guide: Crafting Your Montessori Treasure
1. Prepare Your Cardboard Box
Select a box that's roughly 6-8 inches square and about 4-6 inches deep. If your box has a lid, you can either tape it shut securely or cut off the flaps to create a neat open box. The goal is to have a robust structure that won't easily collapse.
2. Create the Ball Slot
On the top surface of your box, near one edge, trace a circle slightly larger than your ball. Use your craft knife or scissors to carefully cut out this circle. Ensure the edges are smooth and clean, so the ball can pass through easily without getting stuck.
3. Design the Retrieval Tray
Now, on the front side of the box, directly below the ball slot, you need to create an opening for the ball to roll out. Measure and draw a rectangular opening, about 2-3 inches wide and 1-2 inches high. This should be a horizontal slot. Cut this out carefully. This is where your child will retrieve the ball, completing the cycle.
4. Secure and Reinforce
Once all your cuts are made, reinforce all the edges and seams of your cardboard box with strong tape or glue. This is vital for durability, especially with a curious infant. You want the box to withstand repeated play and last through the exciting stages of child development India.
5. Optional: Decorate It!
If you wish, you can decorate your box with non-toxic paints or cover it with simple, plain-coloured paper. Keep the design minimal and uncluttered, adhering to Montessori principles that focus the child's attention on the activity itself rather than distracting aesthetics. Let it dry completely before presenting it to your child.
Introducing the Box to Your Child
When presenting the object permanence box, sit with your child and demonstrate how to place the ball into the hole and how it reappears from the front slot. Do this slowly, without speaking much, allowing your child to observe. Then, invite them to try. This hands-on, self-correcting activity allows children to learn at their own pace, fostering independence and building crucial cognitive connections.
Remember, the goal is not to force the child to play but to offer a stimulating environment. If your child isn't interested immediately, simply put the box away and reintroduce it another day. Each child's journey through Montessori learning materials is unique.
Creating a DIY Montessori object permanence box from a cardboard box is a testament to the power of simple materials in fostering profound learning. It's a wonderful way to introduce Montessori principles into your home, supporting your child's natural curiosity and intellectual growth. For those seeking ready-made, high-quality Montessori materials, including beautifully crafted object permanence boxes, do explore the curated collection at SkilloToys.com.