DIY Montessori Button Frame for Dressing Practice
Imagine your little one, with bright, curious eyes, trying to button their own kurta for a family puja or perhaps their favourite dress for a visit to nani's house. That desire for independence is a beautiful thing to witness, and as parents, we can gently nurture it. One of the most beloved practical life activities in the Montessori approach, perfect for fostering this self-reliance right here in an Indian home, is the Montessori button frame.
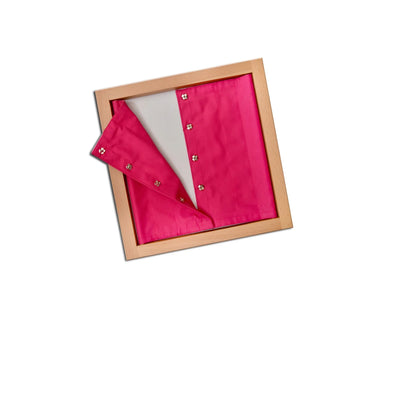
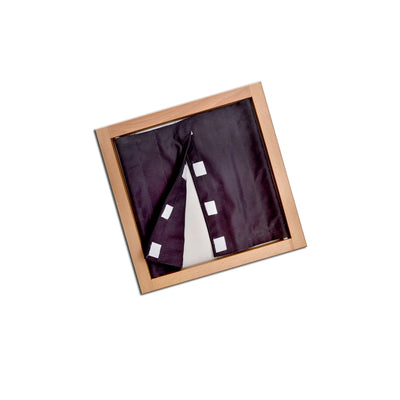
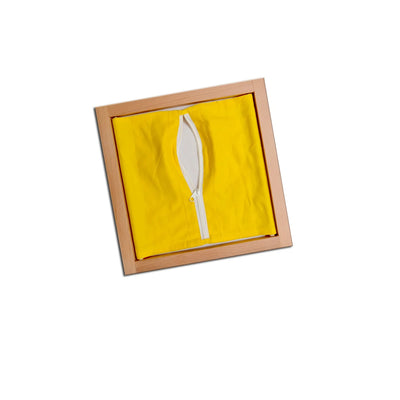
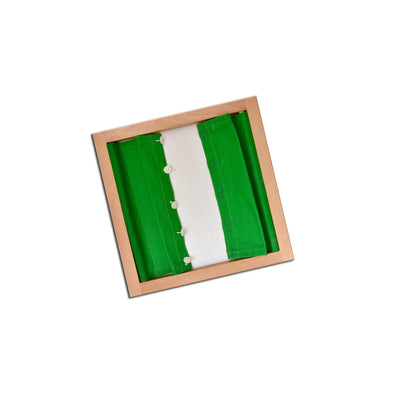
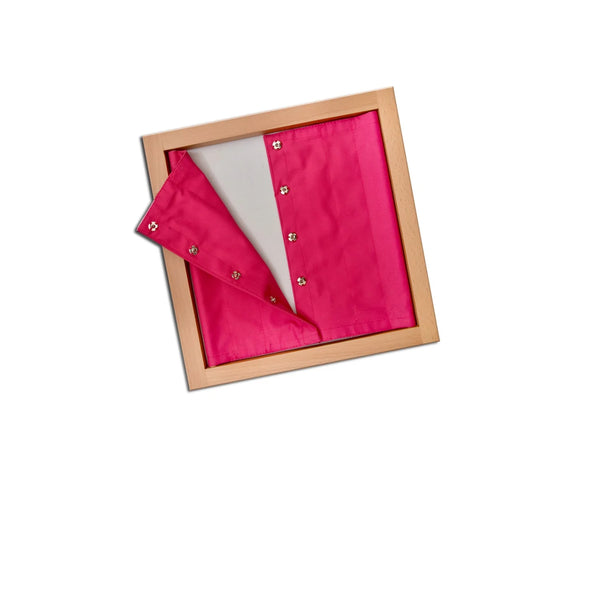
A Montessori button frame is a specially designed learning tool that empowers young children to master the intricate skill of buttoning and unbuttoning. It typically consists of two fabric panels securely attached to a rigid frame, with buttons sewn onto one side and corresponding buttonholes on the other. This hands-on material provides a controlled environment for children to practice the precise finger movements and hand-eye coordination needed for dressing themselves. This works because it isolates the skill, allowing children to focus without the distraction of a full garment, directly building their independence. Parents can create a similar frame at home using simple, everyday materials.
Bringing Montessori Practical Life Skills to Your Home
Maria Montessori firmly believed that children learn best by doing. Practical life activities are the heart of this philosophy, focusing on real-world tasks that help children adapt to their environment and gain a sense of accomplishment. In the context of Montessori at home India, these activities can be beautifully integrated into daily routines, making learning a natural part of growing up, whether in a bustling joint family or a cosy apartment in Bengaluru.
Beyond just buttoning, engaging with a button frame develops crucial skills like concentration, fine motor coordination, and problem-solving. It builds self-confidence, knowing they can contribute to their own care. These are foundational elements for overall child development India, preparing them for more complex tasks and academic learning later on.
Gathering Your Supplies: Crafting Your Own Button Frame
Creating your own Montessori button frame is a fulfilling and economical project. You don't need fancy materials; often, you can repurpose items from around your home, reflecting the resourcefulness common in Indian households.
What You'll Need:
- A Sturdy Base: A small wooden photo frame (without the glass and backing), a strong piece of cardboard, or even a sturdy plywood offcut works well. Aim for something around 10x12 inches.
- Fabric: Two rectangular pieces of thick fabric, about 10x12 inches each. Old cotton saree borders, durable bedsheets, or even thick kurti material can be perfect. Choose contrasting colours for visual appeal.
- Buttons: 4-6 buttons of varying sizes (start with larger ones, around 1-inch diameter, for easier practice). Repurpose old buttons from clothes!
- Thread and Needle: Strong sewing thread and a sturdy needle.
- Scissors: Fabric scissors for clean cuts.
- Pencil or Fabric Marker: For marking buttonhole positions.
Step-by-Step: Making Your DIY Montessori Button Frame
Let's get started on this rewarding Montessori learning activities project!
Preparing the Fabric Panels
Take your two fabric pieces. Fold one long edge of each piece inwards by about an inch and iron it flat to create a neat hem. This will be the edge where the fabric meets in the middle of the frame. Ensure the folded edges are crisp and straight.
Attaching Buttons and Buttonholes
On one fabric panel, along the folded and ironed edge, mark evenly spaced points for your buttons. Sew your chosen buttons firmly onto this panel. On the other fabric panel, along its folded and ironed edge, mark corresponding points for the buttonholes. Carefully cut neat buttonholes, slightly larger than your buttons, and reinforce them with neat hand-stitching or a machine zigzag stitch. This step is crucial for developing fine motor skills as your child manipulates the buttons. For more activities that enhance hand strength and dexterity, explore toys and games for fine motor skills.
Assembling the Frame
Lay your sturdy base flat. Place one fabric panel on one side, with the button-bearing edge facing the centre. Securely attach the outer edges of this panel to the frame using strong adhesive, staples, or small nails. Repeat with the other fabric panel, ensuring the buttonhole edge aligns perfectly with the buttons when overlapped. The inner, folded edges should meet neatly in the middle.
Presenting the Activity: Nurturing Independence
When introducing the button frame, remember the Montessori principle of presenting activities with grace and precision. Sit with your child in a calm space. Slowly and deliberately, without talking, demonstrate how to unbutton and then button each button. Allow your child to observe. Then, invite them to try. Don't correct mistakes; simply let them explore and discover. This hands-on engagement is what makes it one of the most effective practical life Montessori materials.
Beyond Buttons: Encouraging Holistic Child Development
Creating this button frame is just one step in a rich journey of fostering independence and skill development at home. It's an excellent example of how simple, purposeful activities can be powerful educational toys for toddlers and preschoolers. Encouraging self-help skills from a young age builds resilience and a lifelong love for learning.
As you continue to explore activities that support holistic child development India, remember that the goal is to empower your child, one small, independent step at a time. Whether it's buttoning their shirt, pouring water, or sweeping a small mess, these moments are building blocks for their future. For a wider range of materials that align with these principles, do visit our Montessori method learning materials collection.
At SkilloToys.com, we believe every child has incredible potential, and providing them with opportunities to learn and grow independently is our shared joy. Happy crafting and happy learning!