DIY Montessori Object Permanence Box from Cardboard
Imagine the delight on your little one's face as they discover something magical: an object disappears, only to reappear! This profound learning moment is at the heart of the Montessori object permanence box, a classic material that nurtures your child's cognitive development. While beautifully crafted versions are available, creating a DIY version from a simple cardboard box right in your Indian home is incredibly rewarding and equally effective.
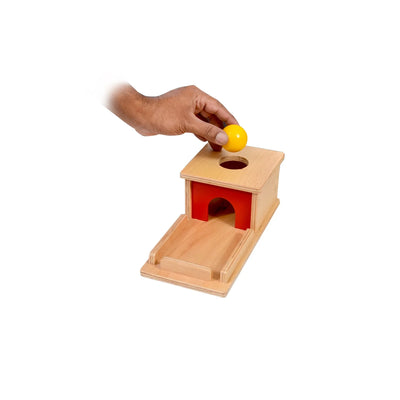
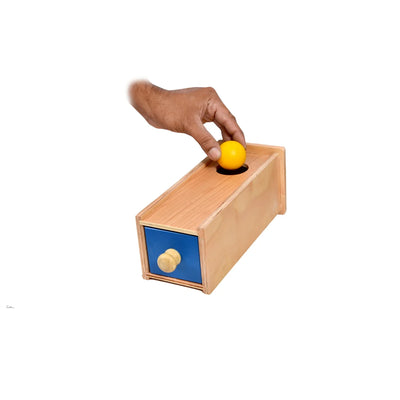
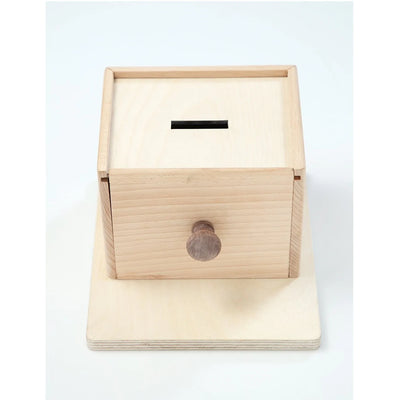
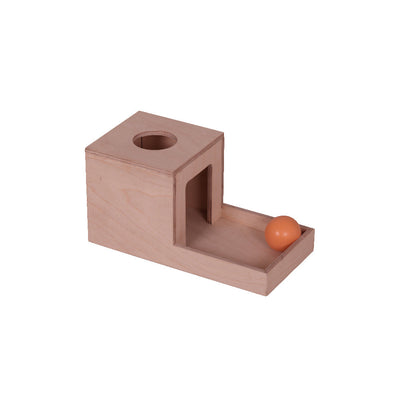
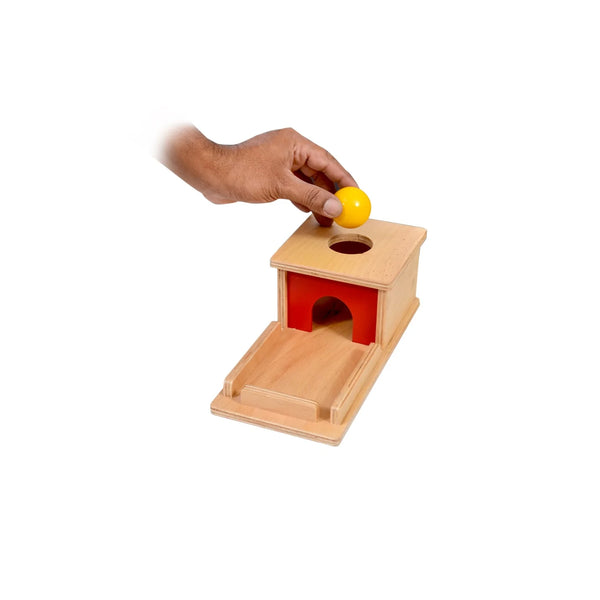
Object permanence is the understanding that objects continue to exist even when they are out of sight. This cognitive milestone, typically developing between 8-12 months, is fundamental for a child's understanding of their world. The object permanence box works by allowing a child to place a ball into a hole and watch it disappear, only for it to reappear from a small drawer or opening, reinforcing this crucial concept. Parents can facilitate this learning by offering the box repeatedly, allowing their child to master the action through independent exploration.
Why Object Permanence Matters for Your Child's Growth
Maria Montessori keenly observed that children learn best through hands-on interaction with their environment. The concept of object permanence is a foundational building block for more complex thought processes, helping children develop memory, problem-solving skills, and a sense of security. In a bustling Indian household, where family members often come and go, understanding that 'out of sight' doesn't mean 'gone forever' can be incredibly reassuring for a young child, potentially reducing separation anxiety. This developmental stage is critical for overall child development in India.
Gathering Your Materials: A Cardboard Box Adventure
One of the beauties of Montessori at home India is the ability to adapt materials using everyday items. For this DIY toddler Montessori activity, you won't need anything fancy. Look for a sturdy cardboard box – perhaps one from a recent grocery delivery, an old shoe box, or even a box from a household appliance. You'll also need a small ball (a wooden one is ideal, but a firm rubber ball works), a craft knife or sharp scissors, strong tape or glue, and a ruler or pen for marking. This is a wonderful opportunity to repurpose and teach sustainable living from a young age, a value deeply ingrained in many Indian families.
Step-by-Step: Crafting Your DIY Object Permanence Box
Preparing Your Cardboard Box
First, ensure your cardboard box is clean and free from any loose bits. If it has a lid, you can either secure it permanently with tape or cut it off to ensure stability. The goal is a stable, enclosed space. Measure about 1-2 inches from the top of one side and draw a circle slightly larger than your chosen ball. This will be the drop-in hole. On the front of the box, near the bottom, mark out a rectangular opening for the ball to roll out of – big enough for your child's hand to easily reach in and retrieve the ball.
Making the Openings
Carefully use a craft knife (adult supervision crucial!) or sharp scissors to cut out the circular hole on the top and the rectangular opening at the front. Smooth any rough edges with tape to prevent small fingers from getting scratched. You might want to reinforce the edges of the holes with extra tape to make them more durable for repeated use by energetic toddlers.
Adding the 'Permanence' Feature
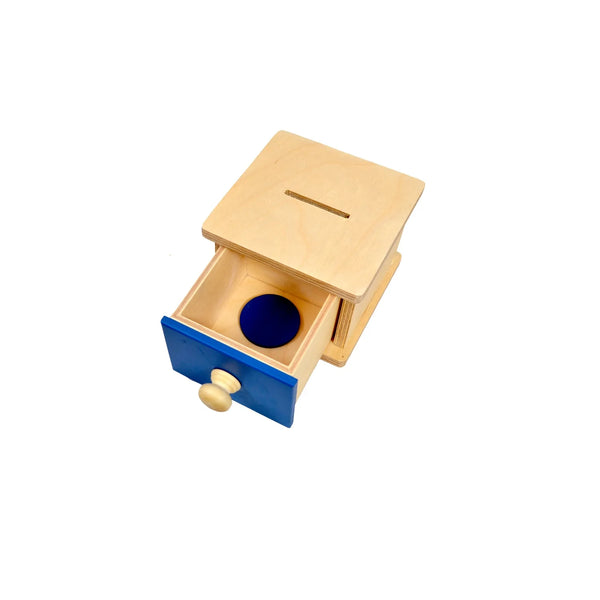
The magic of the object permanence box lies in the ball reappearing. Inside the box, you need to create a ramp or a false bottom that guides the ball from the top hole to the front opening. You can use another piece of cardboard, angled downwards, and secure it with tape or glue. Alternatively, create a small, shallow 'drawer' or tray that slides into the front opening, ensuring the ball lands in it and can be easily retrieved by your child. Make sure everything is securely fixed and won't wobble during play.
Decorating and Finishing Touches
While not essential, you can decorate your box with child-safe paint, colourful paper, or fabric scraps. In many Indian homes, families love to personalise items, so involve an older sibling or even a grandparent in the decoration process! Ensure any materials used are non-toxic and securely attached. Remember, the simpler, the better, as the focus should remain on the activity itself, not external distractions.
Engaging with Your DIY Montessori Learning Activity
Introducing this Montessori learning activity is simple. Sit with your child, place the box in front of them, and slowly demonstrate dropping the ball into the top hole. Point to the front opening as the ball reappears, expressing a sense of wonder and delight. Then, invite your child to try. Resist the urge to 'help' too much; allow them to explore and discover at their own pace. This independent exploration is key to the Montessori philosophy and builds confidence.
Repeat the action as many times as your child wishes. They are not just playing; they are actively building neural pathways that reinforce this critical cognitive concept. Observe their concentration and joy. This DIY object permanence box is a wonderful example of how simple, low-cost activities can offer profound developmental benefits for your little one, making Montessori principles accessible for every Indian family, even in smaller apartments.
Embracing Montessori principles at home doesn't always require elaborate setups; often, the most effective tools are those crafted with love and understanding. For those moments when you're looking to explore more beautifully designed, high-quality Montessori materials, SkilloToys.com offers a wide range of educational toys designed to support every stage of your child's unique developmental journey.