
Make a Montessori Object Permanence Box from Cardboard
In Indian homes, we've always found joy in making things ourselves, a practice we often call 'jugaad' – a clever, frugal solution. This spirit aligns beautifully with the Montessori philosophy, encouraging resourcefulness and hands-on learning. Today, we're going to tap into that ingenuity and learn how to make a Montessori object permanence box from a cardboard box, transforming a simple household item into a powerful learning tool for your little one.
Many Indian parents are now exploring Montessori at home, eager to provide rich developmental experiences without always investing in elaborate materials. This DIY project is perfect for introducing a foundational concept in child development using materials you likely already have. It's an accessible way to engage your toddler and support their natural curiosity.
What is a Montessori Object Permanence Box?
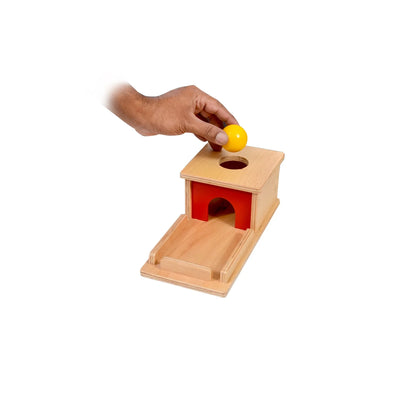
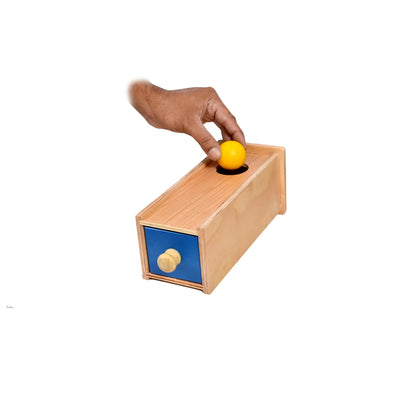
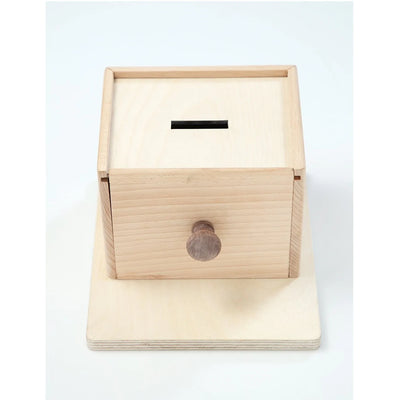
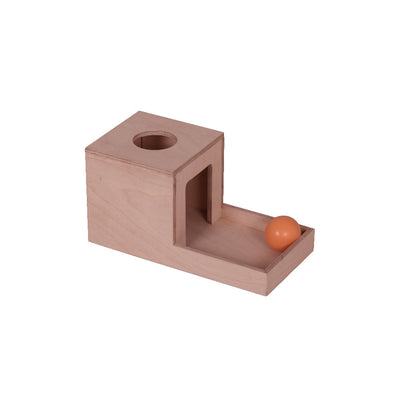
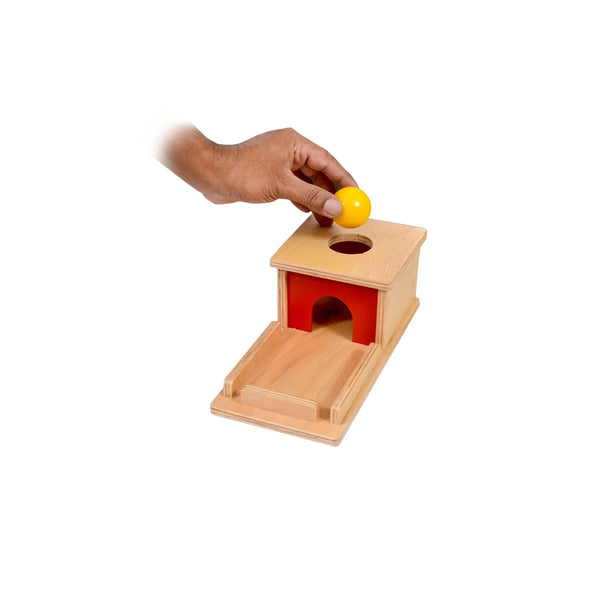
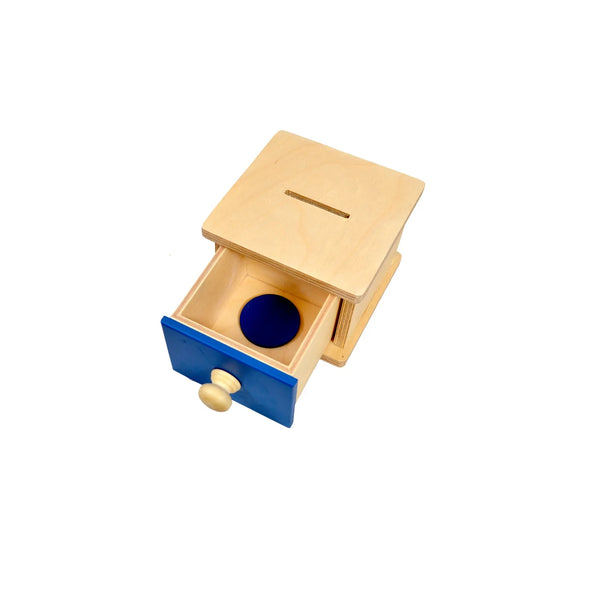
An object permanence box is a classic Montessori material designed to help infants understand that objects continue to exist even when they are out of sight. This crucial cognitive milestone, known as object permanence, is fundamental to a child's understanding of the world.
The concept of object permanence is key. This works because the child places an object into a hole, watches it disappear, and then sees it reappear, reinforcing their understanding that the object hasn't vanished forever. Parents can introduce this activity to children typically between 8 and 18 months, offering a concrete experience that builds their cognitive skills and concentration.
Why Make Your Own Object Permanence Box?
Creating your own Montessori materials is not only budget-friendly but also a wonderful way to personalise learning for your child. In a joint family setting, older siblings or even grandparents can join in the making, adding a special touch. It's a fantastic educational toy for toddlers that you can adapt to your child's interests and available resources, fitting perfectly into the context of Montessori learning activities.
This simple DIY project supports crucial early child development in India. It helps refine fine motor skills as your child grasps and places the ball, and enhances hand-eye coordination as they aim for the hole. Beyond cognitive growth, it fosters independence and a sense of accomplishment.
Gathering Your Materials: The Indian Home Edition
Look around your home for these everyday items:
- A sturdy cardboard box: An old Amazon delivery box, a shoe box, or even a saree box works perfectly. The sturdier, the better!
- A craft cutter or scissors: To make precise cuts.
- Strong adhesive: Hot glue, Fevicol, or strong packing tape will do the trick.
- A small wooden ball: If you don't have one, a golf ball, a large marble (ensure it's not a choking hazard!), or a firm pom-pom will also work. Ensure it's non-toxic and big enough not to be swallowed. You can also explore our range of Montessori object permanence boxes that come with safe, child-friendly balls.
- Optional: Decorative paper or fabric scraps to make it visually appealing. Perhaps some vibrant block-printed fabric remnants from an old kurti?
Step-by-Step Guide to Crafting Your Box
1. Prepare Your Cardboard Box
First, choose a box that is roughly cube-shaped or rectangular, with one side large enough for your child to reach into comfortably. Ensure all flaps are securely taped or glued down to create a stable structure. If using a larger box, you might need to cut it down to size.
For small apartments, consider a compact box that can easily be stored away. Ensure the box is clean and free from any sharp edges or loose bits of cardboard that could pose a hazard to curious little hands.
2. Create the Dropping Hole
On the top surface of your box, draw a circle slightly larger than your chosen ball. Using your craft cutter or scissors, carefully cut out this circle. Ensure the edges are smooth and clean so there are no rough parts that could scratch your child. Test the ball to make sure it drops easily without getting stuck.
3. Design the Retrieval Opening
On one of the side surfaces of the box, near the bottom, cut out an opening. This opening should be large enough for your child to comfortably reach their hand in and retrieve the ball. A rectangular or arched shape works well. Again, ensure all edges are smooth and safe.
4. Secure and Reinforce
Once your cuts are made, reinforce all seams and edges with tape or glue to ensure the box is sturdy and durable. This is especially important for active toddlers who love to test boundaries. Consider covering the raw cardboard edges with tape or fabric for a neater finish and added safety.
5. Personalise (Optional)
This is where the Indian context truly shines! Involve older children in decorating the box. Use leftover fabric pieces, attach some colourful buttons (securely glued!), or draw traditional rangoli patterns on the sides. This not only makes the box unique but also adds to the joy of creation, turning it into a cherished Montessori material.
Introducing the Box to Your Child
Present the object permanence box to your child when they are calm and curious. Sit with them, demonstrate how to drop the ball into the hole and retrieve it from the side opening. Repeat the action slowly, allowing them to observe. Then, invite them to try.
Don't correct them if they don't get it right immediately. Montessori principles encourage self-discovery. This activity is a fantastic example of Montessori learning activities that promote focus and independent exploration. It's about the process, not just the outcome.
Making a Montessori object permanence box from a cardboard box is a rewarding project that truly embodies the spirit of practical life and learning. It's a testament to how simple, everyday materials can unlock profound learning experiences for our children. For those looking to explore more ready-made options and other educational toys for toddlers, do visit SkilloToys.com for our thoughtfully curated collection of Montessori method learning materials.