DIY Sandpaper Letters for Preschoolers at Home
Namaste, dear parents! There's a special joy in creating something meaningful for your child with your own hands, especially when it sparks their learning journey. If you're exploring Montessori at home India, you've likely heard of sandpaper letters. These tactile wonders are a cornerstone of early literacy, offering a sensory experience that helps children connect sounds to symbols. The great news is, you don't always need to buy them; you can easily make your own sandpaper letters at home for your preschoolers, adding a personal touch to their education!
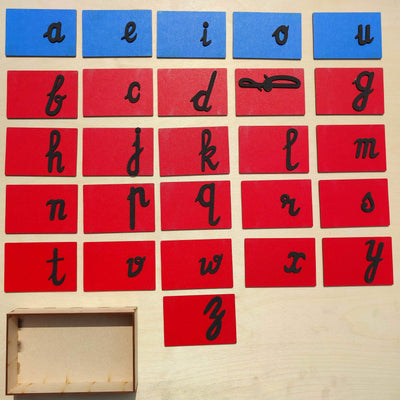
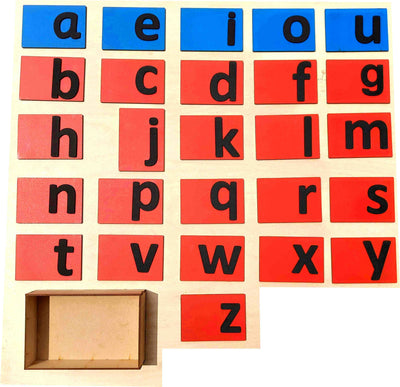
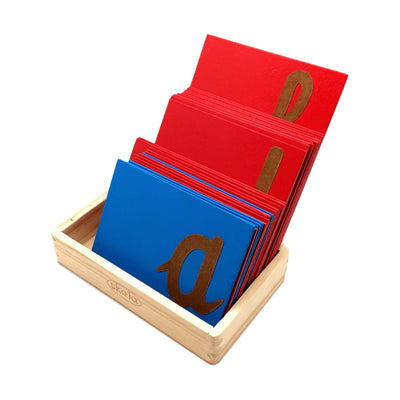
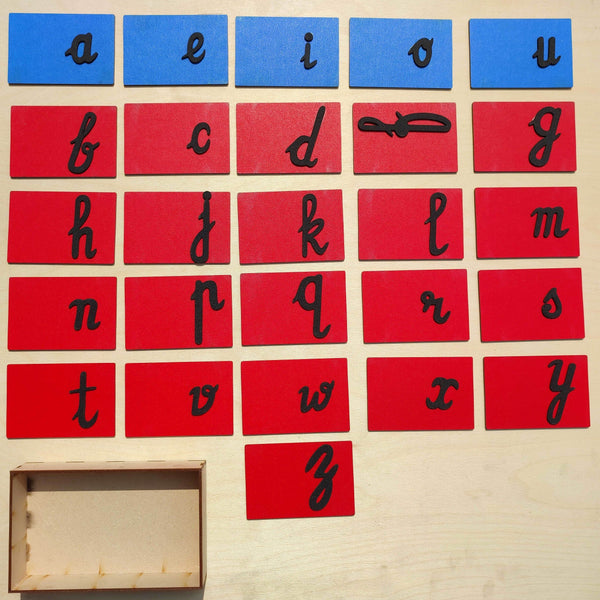
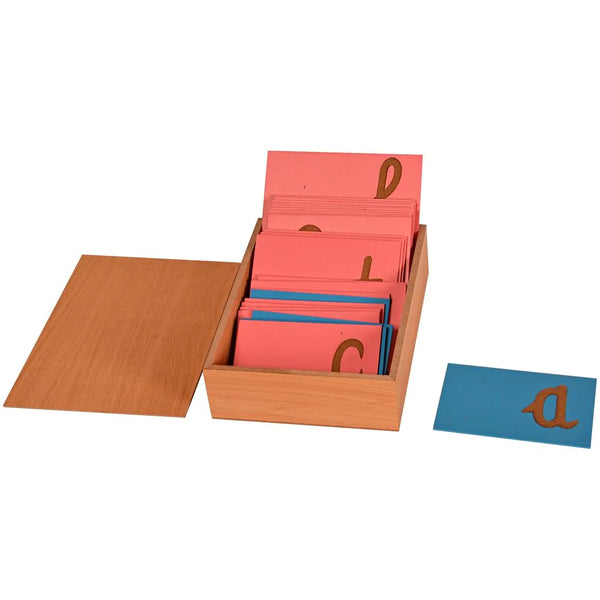
So, what exactly are sandpaper letters? Sandpaper letters are a classic Montessori language material consisting of letters cut from sandpaper and mounted onto smooth, contrasting boards, typically green for consonants and pink for vowels. This works because it engages multiple senses simultaneously: the child sees the letter, hears its phonetic sound, and most importantly, feels its shape by tracing it with their fingers. Parents can use this simple yet profound tool to lay a strong foundation for reading and writing, making abstract concepts concrete and inviting to young minds.
Why Sandpaper Letters are Essential for Early Literacy
Maria Montessori observed that children learn best through hands-on exploration. Sandpaper letters embody this philosophy perfectly. By tracing the textured letters, children develop muscle memory for writing, without the pressure of holding a pencil. This prepares their hand for future writing skills and strengthens their fine motor control, which is vital for overall child development India.
Beyond motor skills, these letters are a powerful aid for phonetic awareness. Children associate the feel of the letter with its sound, not just its name. For example, they learn the 'mmm' sound for 'm', rather than just saying "em". This phonetic approach is a hallmark of Montessori learning activities and makes the transition to reading much smoother. While we have beautifully crafted sandpaper letters available, the joy of a DIY project is unmatched for some families.
Gathering Your Materials: A Trip to Your Local Market
Making your own sandpaper letters is a delightful activity, and finding the materials is often as simple as a trip to your neighbourhood stationery shop or a local hardware store, perhaps even with your little one! In an Indian household, you might already have most of these items tucked away in your craft box or study drawer.
What You'll Need
- Thick Cardstock or Cardboard: Think old cereal boxes, invitation cards, or even the sturdy backing of notebooks. Cut them into consistent rectangles, about 10x15 cm (A6 size) is ideal for small hands.
- Fine-Grit Sandpaper: Look for sandpaper with a smooth, fine texture. Coarse sandpaper can be too harsh for delicate fingers. A light colour is best for contrast.
- Strong Adhesive Glue: Fevicol or any similar strong craft glue will work well.
- Scissors: A good pair for cutting both cardstock and sandpaper.
- Pen or Pencil: For outlining the letters.
- Optional: Green and Pink Paint/Paper: To create the traditional Montessori background colours (green for consonants, pink for vowels). This helps children visually differentiate between them.
Choosing the Right Sandpaper
When selecting sandpaper, opt for the finest grit you can find. The goal is to provide a distinct tactile sensation without being scratchy or uncomfortable. A light-coloured sandpaper against a darker card (or vice versa) offers excellent visual contrast, helping the letter stand out. This small detail can significantly enhance the learning experience for your preschooler.
Step-by-Step Guide to Making Your Sandpaper Letters
Creating these Montessori language materials is a mindful process that can be a wonderful family activity. Perhaps even an elder in your joint family, like a grandparent, could lend their skilled hands!
- Prepare Your Cards: Cut your cardstock or cardboard into uniform rectangles. If using paint, colour them green for consonants and pink for vowels, or simply glue coloured paper onto them. Ensure they are dry before proceeding.
- Draw the Letters: On the smooth side of the sandpaper, lightly draw lowercase letters (the Montessori standard) in a clear, consistent font. Use a simple cursive or print style that is easy to trace. Remember to leave a small border around each letter.
- Cut Out the Letters: Carefully cut out each sandpaper letter. Take your time to make clean edges.
- Glue Them On: Apply a generous but even layer of glue to the back of each sandpaper letter. Centre the letter onto its corresponding coloured card, pressing down firmly to ensure good adhesion.
- Dry and Finish: Place the finished cards flat to dry completely. This might take a few hours. Once dry, your homemade sandpaper letters are ready for use!
Bringing Sandpaper Letters to Life: Activities at Home
Introducing the letters is as important as making them. Start with a few letters that have distinct sounds (e.g., 'm', 's', 'a'). Present one letter at a time, tracing it with your dominant hand (and guiding your child's hand if needed), saying its phonetic sound clearly. This forms part of the "Three-Period Lesson" in Montessori, building on repetition and sensory memory.
In the bustling environment of an Indian home, even a small corner in an apartment can become a learning zone. Integrate the sandpaper letters into daily routines. While reciting rhymes or looking at books, point out the letters. Ask your child to find a specific letter you just learned, or trace the letter as you say a word that starts with its sound. These educational toys for toddlers are fantastic for nurturing their natural curiosity.
Making your own sandpaper letters is more than just a craft project; it's an investment in your child's future learning, fostering concentration and a love for language. At SkilloToys.com, we believe in empowering Indian parents with resources and high-quality Montessori learning materials to support their child's holistic development. Happy learning and creating!