DIY Sandpaper Letters: Montessori Learning at Home for Preschoolers
In the vibrant tapestry of Indian homes, where learning often blends seamlessly with daily life, creating engaging educational tools can be a joyous family activity. For parents exploring Montessori at home India, a truly rewarding project is to make your own sandpaper letters at home for preschoolers. This simple yet profound DIY Montessori material introduces children to the alphabet through touch, preparing them for reading and writing in a wonderfully tactile way.
What Exactly Are Montessori Sandpaper Letters?
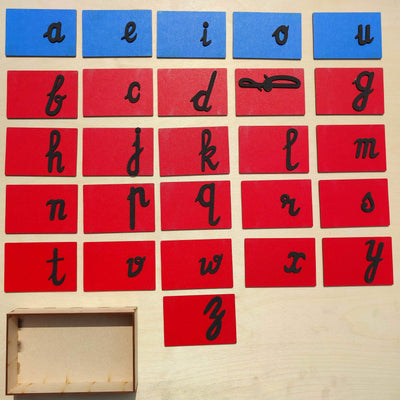
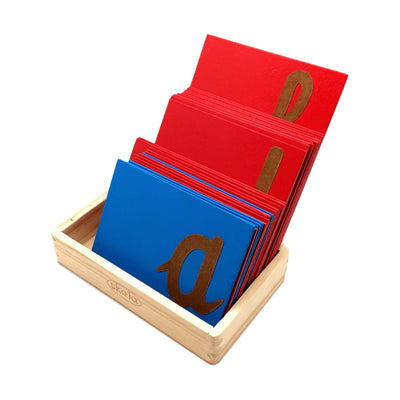
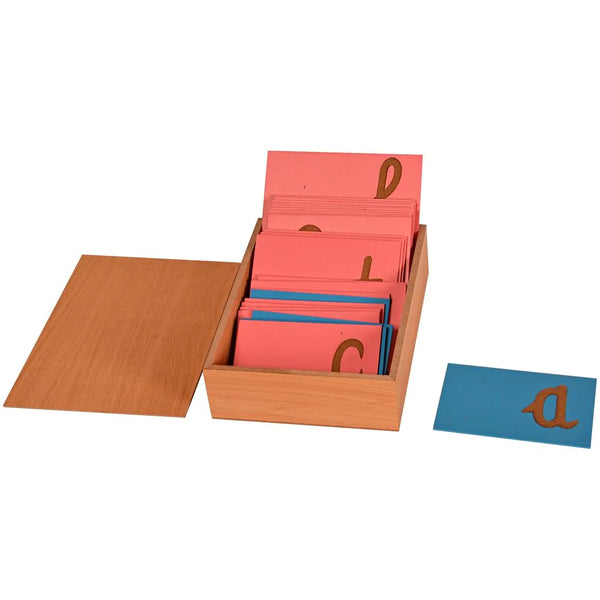
Sandpaper letters are a cornerstone of the Montessori language curriculum, designed by Dr. Maria Montessori to engage a child's tactile sense in learning letter shapes and sounds. Each letter, typically a lowercase consonant or vowel, is cut from sandpaper and mounted onto a smooth, contrasting background card. This works because the child traces the rough letter with their finger, simultaneously saying its sound, creating a multi-sensory experience that reinforces memory. Parents can introduce these letters individually, helping their child connect the feel, sound, and visual representation of each alphabet.
Why DIY? The Indian Advantage
While ready-made sandpaper letters are excellent, crafting your own offers unique benefits for Indian families. It's a lovely way to involve grandparents or older siblings, fostering bonds and shared activity. In many Indian homes, DIY allows for customisation to suit space and resources. Sourcing local materials also makes it cost-effective and sustainable, reflecting the resourcefulness common in our households.
Gathering Your Materials (Desi Style!)
What You'll Need
- Cardstock or Plywood: Sturdy A5-sized cards (roughly 15x21 cm) or small, smooth wooden plaques.
- Fine-Grit Sandpaper: Look for sandpaper that's fine enough to feel distinct but not scratchy. A local hardware store will have this easily.
- Pencil & Ruler.
- Scissors or Craft Knife.
- Strong Adhesive: Like Fevicol.
- Printable Letter Templates.
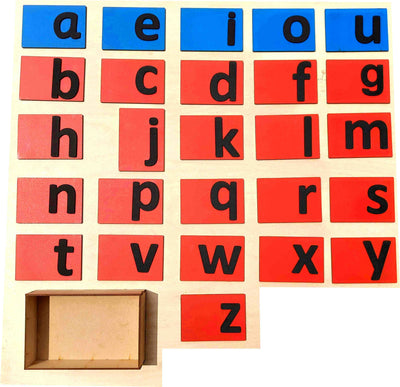
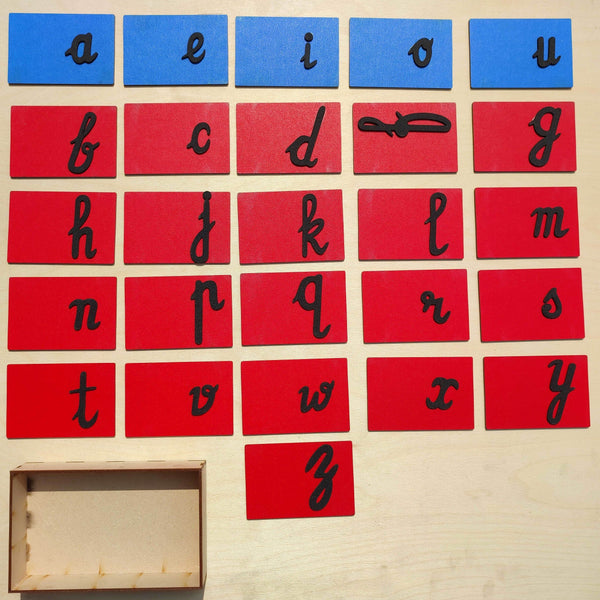
- Optional: Green & Blue Cards/Paint: To differentiate vowels (blue) and consonants (pink/red or cardstock colour). This aligns with traditional Montessori colour coding for Montessori language materials.
Step-by-Step Guide to Crafting Your Letters
Preparation is Key
First, decide on your base card size; A5 works well for little hands. Cut out 26 identical rectangles. For vowels (a, e, i, o, u), consider a blue background; for consonants, a contrasting colour like pink or red, or your cardstock's natural shade. This visual cue supports Montessori pedagogy.
Crafting the Letters
Start by printing clear, simple lowercase letter templates, about 10-12 cm tall. Carefully trace each letter onto the back of your sandpaper with a pencil, remembering to reverse the letter if tracing from the back.
Using sharp scissors or a craft knife (adult supervision crucial!), carefully cut out each sandpaper letter, aiming for precise shapes.
Apply a generous, even layer of strong adhesive to the back of each sandpaper letter. Press it onto the centre of your cardstock or plaque, ensuring it's firmly attached without air bubbles.
Finishing Touches
Allow all your homemade sandpaper letters to dry completely. Once dry, check they are securely attached and smooth enough for a child's delicate touch. You now have beautiful, personalised educational toys for toddlers!
Bringing Sandpaper Letters to Life in Your Home
Once your DIY sandpaper letters are ready, introduce them gently to your child. The Montessori approach suggests one letter at a time, using the three-period lesson ('This is…', 'Show me…', 'What is this?') to build confidence. These vital Montessori language materials foster early literacy. Combine them with other pre-writing activities, preparing children for the Montessori Movable Alphabet.
Tips for Engaging with Your DIY Sandpaper Letters
Integrating these letters into an Indian household offers wonderful opportunities for holistic child development India:
- Involve the Family: Involve grandparents or older cousins; they can share stories using the letters, making it a multi-generational joy.
- Language Diversity: Consider making sets for regional languages like Hindi, Tamil, or Kannada. This connects children with their cultural roots and expands linguistic horizons.
- Festival Fun: Use letters during festivals like Diwali or Pongal to introduce related vocabulary, e.g., 'D' for Diwali.
- Everyday Exploration: Point out household objects starting with the learned letter, like 'M' for Maa or 'R' for Roti.
- Space-Savvy Storage: In small apartments, store letters in a compact box or tray, respecting the Montessori principle of order for easy access.
Creating your own sandpaper letters is a beautiful step towards enriching your child's early learning journey at home. For those moments when you seek expertly crafted Montessori learning materials, SkilloToys.com offers a curated selection designed to inspire and educate.